
Have you ever looked at your Hyper-V storage folder and realized a single virtual machine is consuming way more space than it should?
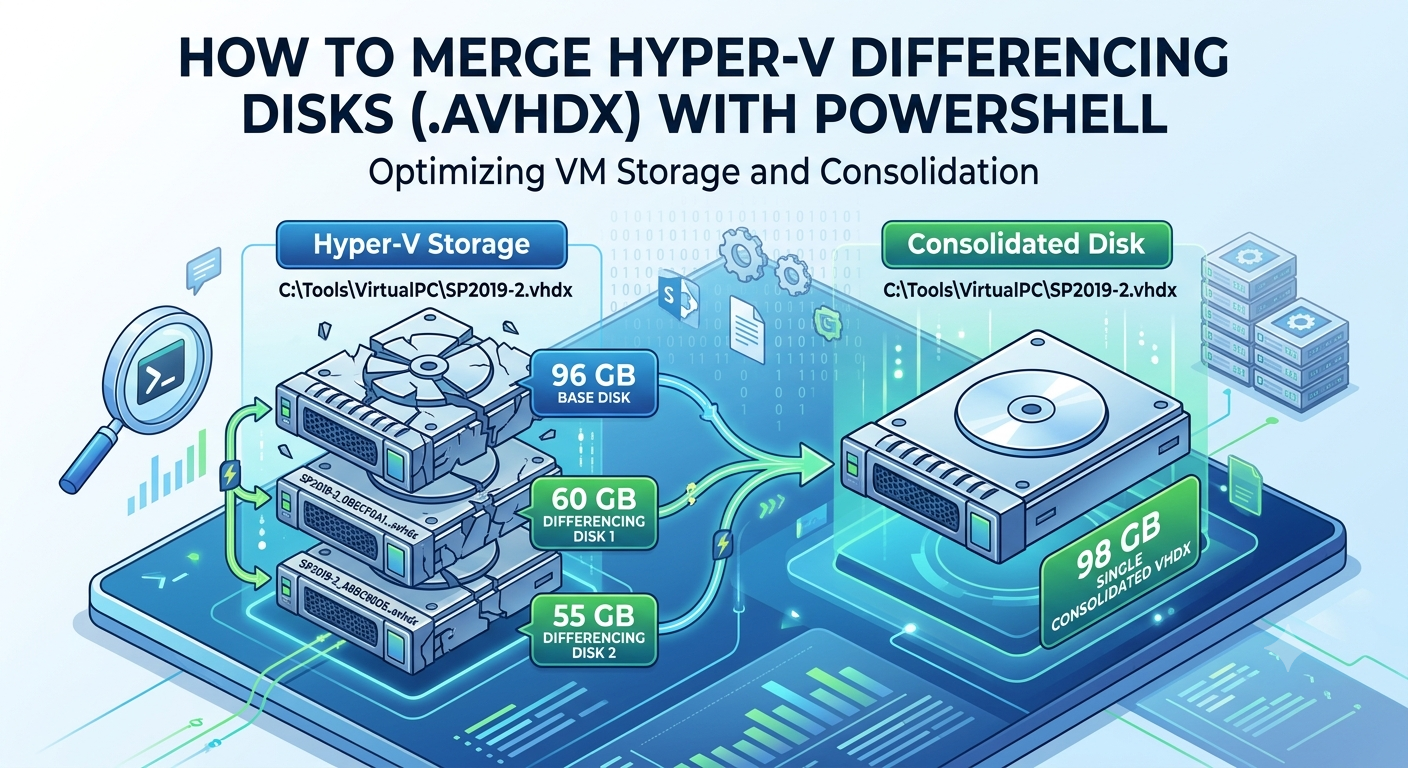
I recently ran into this scenario with a Windows Server VM running SharePoint 2019. When inspecting the storage, I noticed that there were 3 separate virtual disks assigned to this single machine:
SizeMB FullName
  ------ --------
96036.00 C:\Tools\VirtualPC\SP2019-2.vhdx
59856.00 C:\Tools\VirtualPC\SP2019-2_0BECF0A1-A960-43C7-9B26-316C0EAE812A.avhdx
55476.00 C:\Tools\VirtualPC\SP2019-2_A8BC90DE-A7D8-402C-8BEE-FC4FD454A5F5.avhdx
Why Did This Happen?
This happened after creating a checkpoint for the machine. When a checkpoint is created, Hyper-V freezes the original .vhdx file to protect its data from changing, and creates an .avhdx (differencing) file. From that moment on, all new data, SharePoint logs, and OS updates were written only to that new .avhdx file.
Combined, these three files were taking up almost 200 GB of space, and I wanted to shrink them. Because I’ve had a bad experience with shrinking .avhdx files directly in the past, I decided the best approach would be to join all the files back into a single, consolidated file.
Step 1: Determine the Disk Relationships
To join the files into a single file, I first had to determine the relationship between them. Because I prefer the console to a UI, I used PowerShell to look for the parent disk. Fortunately, there weren’t a lot of files to sift through.
I ran the following command to check the first checkpoint’s parent:
Get-VHD "C:\Tools\VirtualPC\SP2019-2_0BECF0A1-A960-43C7-9B26-316C0EAE812A.avhdx" | fl ParentPath,Path,VhdType
Output:
ParentPath : C:\Tools\VirtualPC\SP2019-2.vhdx
Path       : C:\Tools\VirtualPC\SP2019-2_0BECF0A1-A960-43C7-9B26-316C0EAE812A.avhdx
VhdType    : Differencing
This confirmed the chain: the original .vhdx was the parent of the first .avhdx, which in turn was the parent of the second .avhdx.
Step 2: Merge the Differencing Disks
Now the task was to merge the different parts of the drives. You can easily do this in PowerShell using the Merge-VHD cmdlet. The basic syntax is:
Merge-VHD -Path "<ChildDiskPath>" -DestinationPath "<ParentDiskPath>"
Note: When dealing with a chain, you must work your way from the newest child disk back down to the base parent disk.
In my case, I had to use the command twice:
1. Merge the newest child into the middle parent:
Merge-VHD `
   -Path "C:\Tools\VirtualPC\SP2019-2_A8BC90DE-A7D8-402C-8BEE-FC4FD454A5F5.avhdx" `
   -DestinationPath "C:\Tools\VirtualPC\SP2019-2_0BECF0A1-A960-43C7-9B26-316C0EAE812A.avhdx"
2. Merge the middle parent into the original base disk:
Merge-VHD `
   -Path "C:\Tools\VirtualPC\SP2019-2_0BECF0A1-A960-43C7-9B26-316C0EAE812A.avhdx" `
   -DestinationPath "C:\Tools\VirtualPC\SP2019-2.vhdx"
The Result
As a result of the merge, I got a single, clean .vhdx file. The final file size came out to less than 100 GB—a massive savings compared to the 200 GB total from before!
If you are running low on Hyper-V storage due to old checkpoints, using Merge-VHD via PowerShell is a safe and efficient way to reclaim your disk space.